Improve Your Website in a Month: Daily Tasks to Give Your Site a Facelift

Sometime after baby #2 made his debut, my husband and I decided to start exercising together regularly. At the time, I wasn’t working out consistently. Okay. I wasn’t working out. At all. Period.
We started with the lightest dumbbells we had. A few reps. One set. A few days a week. We stuck with it and within a few weeks, we bumped up our weight, reps, and sets. My mother-in-law heard we’d been crushing it with our home workouts 😉, and offered to babysit while we hit a real gym.
With a room full of equipment and someone to watch the boys, we weren’t limited by our small set of home weights or a million interruptions. And as we worked out together, we were SHOCKED by the amount of weight we could comfortably lift, and the amount of reps/sets we could do before tiring. SUCH an improvement.
I left the gym feeling like a heavyweight champ. Me-the girl who was cut from a non-cut sport in high school. I was feeling pretty athletic. And all it took was a short workout a few times a week, for about a month.
Now, imagine your website is like my muscles. Haha. What I mean is - what could your website do for you and look like, if you just carved out a little bit of time, a few days a week, to work on it.
In this blog post, I’ll show you simple tasks you can do to your website each day (just 5 days a week) so that it looks more professional, up-to-date, and user-friendly.
PLUS - I made a calendar to go along with it so you can print it and keep track of your website progress. CLICK HERE to download the Website Refresh Calendar.

Week #1 - Evaluate Your Website
Day 1 - DIY Website Audit
Before you make any changes, you’ll want to start by getting a lay of the land. It’s kind of like taking your measurements before you start a new exercise program. First, get an idea of where your site currently stands, so you can see where you want to go.
I put together a DIY website audit checklist to help you see where your website’s at in terms of professionalism and usability. Go ahead and download it. Then use this first day to audit your website using the checklist. CLICK HERE to download the FREE Checklist.
Day 2 - Check for Inaccurate Information
Look over your website, page by page, and take note of any outdated or inaccurate information. Are the services or products listed still offered? Are the prices correct? Is the list of deliverables right? Hours of operation still accurate? Is the contact information listed correct? Don’t worry about changing anything yet, today is all about getting an idea of what we’re working with. I recommend taking notes like so: {page > section > edit needed}.

Day 3 - Check for Clarity
Read the words on each page of your website. On the first pass, check for clarity. Put yourself in your reader’s shoes:
Does it all make sense?
What questions will they still have after reading?
Is there any technical jargon they might be confused by?
Can it be simplified?
Release attachment, jargon and ego. Clarity and simplicity for your readers is most important. Make note of any areas that could use clarification or could be simplified: {page > section > what needs to be clarified or simplified.}
Next, take a second pass at reading over the words on your website, page by page, but this time, read it out-loud.
Does it all sound good?
Do you notice any spelling or grammatical errors?
Make note of any areas that you want to fix up: {page > section > what sentence needs re-working to sound better}.
Day 4 - Make Note of Any Thick, Bulky Paragraphs
Look over the words on your website page by page and check for thick, bulky paragraphs. No one wants to read a big boring paragraph. They are overwhelming.
The goal is to eventually make your website fun to read, by breaking up those dense paragraphs into yummy bite-sized sections sprinkled with images, bullets, headings, etc. Don’t worry about changing anything yet, just make note of it {page > section > bulky paragraph}.
Then, brainstorm ways you can break those paragraphs up:
Does it make sense to use bullets or numbering anywhere?
Is there a quote you want to highlight with some stand-out text?
What section headings could you use?
Day 5 - Review the Images
Look over the images on your website. The photos you use can make or break your website design. I wrote a post all about it here. As you evaluate the images on your website, ask yourself the following questions:
Are you using beautiful photos?
Do they appeal to your target audience?
Do they make sense?
Are they current or do they look like a dated stock photo from 1999?
Just make note of any photos that need updating: {page > section > photo to swap.}

Week #2 - Update Your Website Content (The Words + Photos)
Day 6 - Correct the Inaccuracies
Remember when you took notes of all the inaccurate information on your website? Now is the time to correct it all. Don’t overthink it. The wording doesn’t need to be “perfect,” just accurate.
Day 7 - Clarify + Simplify The Text
Return to the notes you took about the words on your website. Spend some time today fixing up the sections that needed some work. The goal here is clarity and simplicity.
You could easily find yourself feeling overwhelmed at this step, especially if you hate writing, but DON’T GET STUCK! Push through! Do your best to clean up your website copy, quickly.
Done is better than perfect! I personally believe perfection doesn’t even exist. So just give yourself an hour, clean it up the best you can, and move forward.

Day 8 - Remove Blank or Unfinished Webpages
Take down any blank or unfinished pages. Seriously. Just do it.
An About page with “We’re working on it…” looks unprofessional and gives off a newbie vibe. It’s not helping you. Just take it down. Someday, when you finish it, you can put it back up. But for now, take it down. On Squarespace websites, I like to disable any unfinished pages so that they can’t be found by search engines.
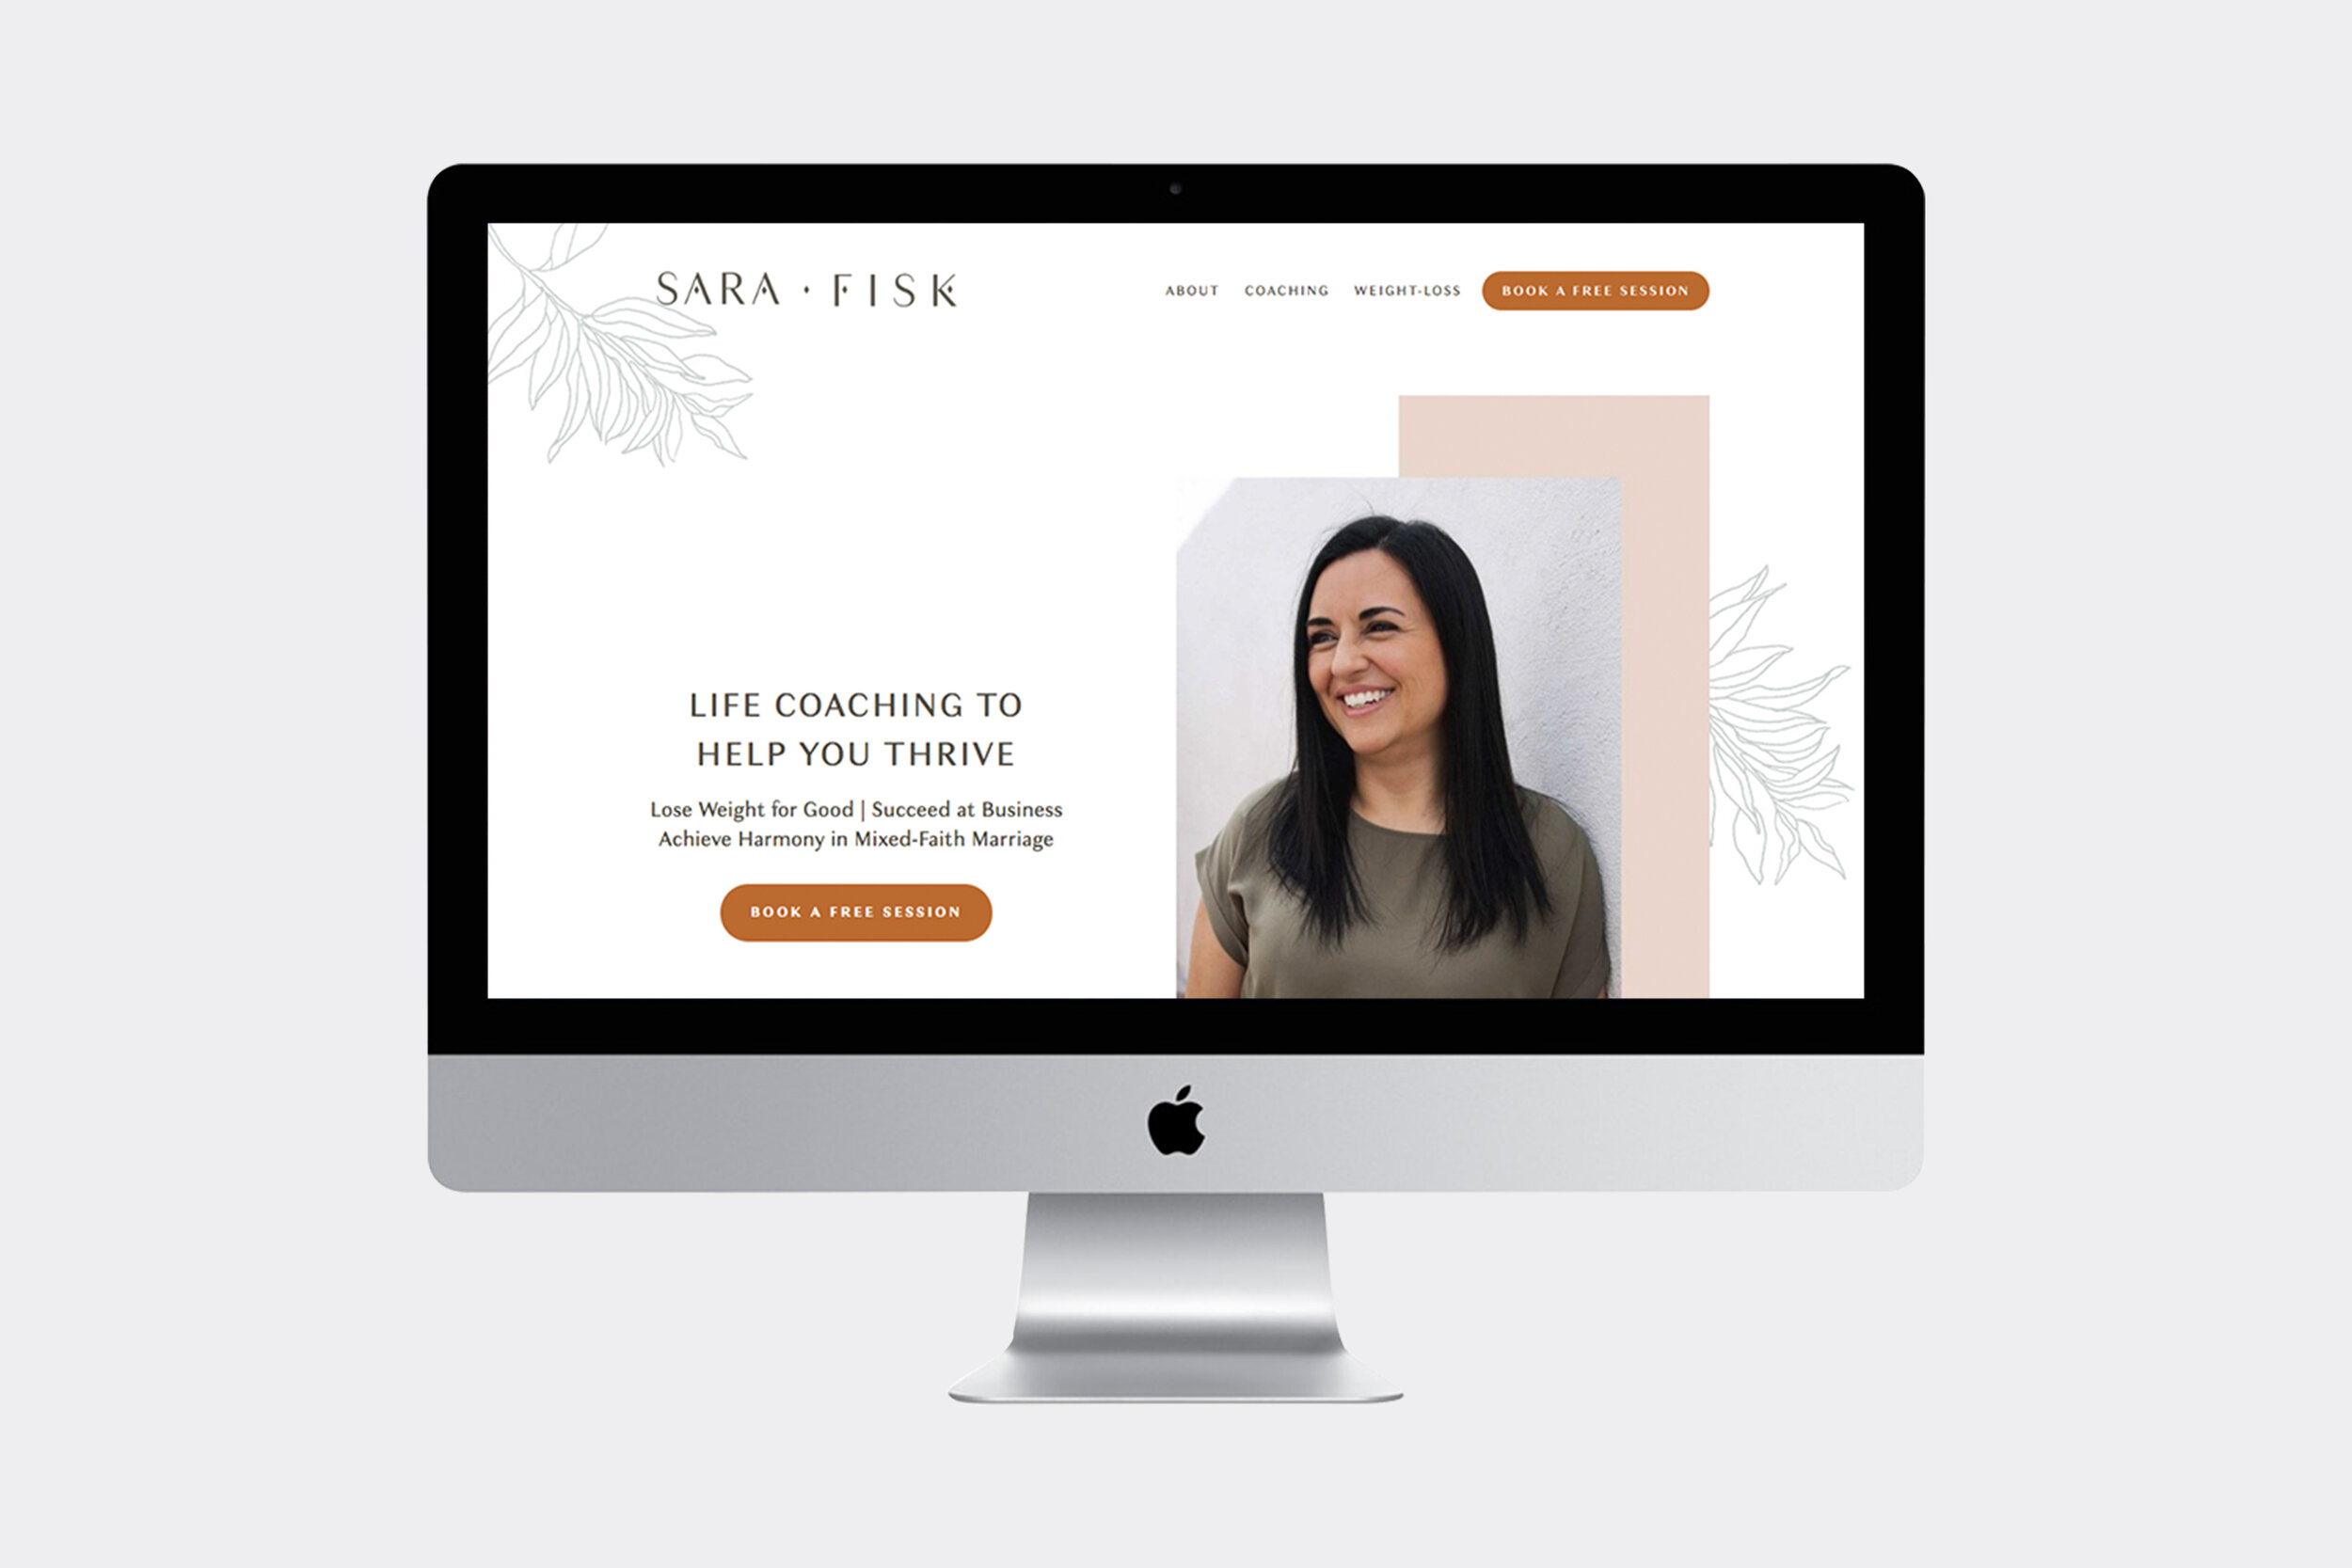
Day 9 - Add a Headline
On the Homepage of your website, add a headline before the fold (the part that people see before they scroll) that clearly states what you offer and to whom.
Day 10 - Update the Images
Those dated stock photos? Replace them with something fresh. (Check out this blog post for some ideas on where to get new photos. Tip: Do NOT rip off random images from Google. We want to avoid breaking any copyright laws.)
If you’ve had staff changes, today’s the day to update those staff photos. You might already have new pictures, but just haven’t gotten around to swapping them in. Today is the day! Give yourself the time to get it done.
Before you add a new image to your website, make sure to optimize it for the web (<500kb image file size). This step improves site-loading time, which is better for SEO. Also, since search engines + text readers can’t “read” images, make sure to add descriptive alt text for each image.

Week #3 - Adjust Design to be More User-Friendly
Day 11 - Break up Overwhelming Paragraphs
Remember when you made note of all of the thick, overwhelming paragraphs on your website? Now is the time to chop those up into smaller, manageable chunks.
Make the words on your website enjoyable to read - with section headings, bullet points, paragraph breaks, customized icons, illustrations or images.
But don’t go overboard with too many colors and fonts. EDIT. Stick to your brand’s color palette. Stick to 2-3 fonts throughout your entire website (for both the body copy and section headings). And make sure any images, icons or illustrations you add, fit your brand and look good together.

Day 12 - Left-Align Paragraphs
Make sure all the remaining paragraphs are left-aligned. Left-aligned paragraphs look better, AND they’re easier to read than center-aligned paragraphs.
Day 13 - Adjust Wall-to-Wall Text
Lines of text that span wall-to-wall on your website are hard to read. I like to keep each line to less than 75 characters long on average, and include margins on either side of the text.
To check how many characters you have per line: copy one line of text on your website, and paste it into a character counter like this one. If your character count is significantly higher than 75 characters/line, then work on adjusting the width of the text area so that each line is closer to about 75/characters per line. Then, make sure there is blank space on either side of the text - like margins on a word doc.
Day 14 - Check Your Links
Go through your website, page by page, and click through EVERY link. Do they all work? Are they linking to the correct web page?
If you have a blog, I recommend using an online tool like this one to check for any broken links hidden in your posts.
Day 15 - Streamline the Navigation Menus
People already made the choice to visit your website - don’t overwhelm them with more choices. Keep the main navigation menu streamlined to only the most important pages (ideally less than 6.) For example: Contact, About, Blog, Services.
Then add a menu in the footer of your website where you can list all the other pages of your website. I like to use the footer menu as a mini site-index.
Week #4 - Draw in All the Dreamy Customers
Day 16 - Add a clear call-to-action on every page.
What action do you want people to take on each page of your website? Purchase something? Call? Place an order? Sign up for your email list? Choose ONE action you want people to take per page, then add it.
I like to use buttons for this. For example, on my Home page, I want people to apply to work with me. I have a button that says: “Let’s Work Together.” When clicked, the button takes them to the application form on my website.
Use today to add one call-to-action on each page of your website.
Day 17 - Add Meta Descriptions
Today, take some time to add meta descriptions for every page of your website.
If you didn’t already know, meta descriptions are short bits of text that describe the content of a website or webpage. It is the text that shows up under the website title in search engine results.
When writing these meta descriptions, first consider what your target audience is searching for, and what problems they have. Then, write an inviting description that explains how your site/page provides the answer to that problem.
Day 18 - Sprinkle Testimonials Around Your Site
Add social proof throughout your website. Instead of keeping your glowing reviews and testimonials on one page that people may or may not see, instead pepper them around your website on every page.

Day 19 - Soft Launch Your Updated Website
Before you shout from the rooftops about your newly updated website, quietly launch it to close family and friends. Ask for loving, constructive criticism, and use their feedback to make any final adjustments.
Day 20 - Launch Your Updated Site
Launch your fresh, up-to-date website to the world wide web! Tell your audience, your friends, your family, your email list, and your social media followers, all about your updated site! And give them a reason to care, some kind of incentive to check out the new site. Maybe a hidden discount somewhere on your website or a fun giveaway!

Treat Yo’ Self!
YEAH! You did it! A whole website makeover in just a month! That is quite the accomplishment, so go celebrate!
PS - Did you miss the FREE Website Refresh Calendar that goes along with this post? Click HERE to download it.